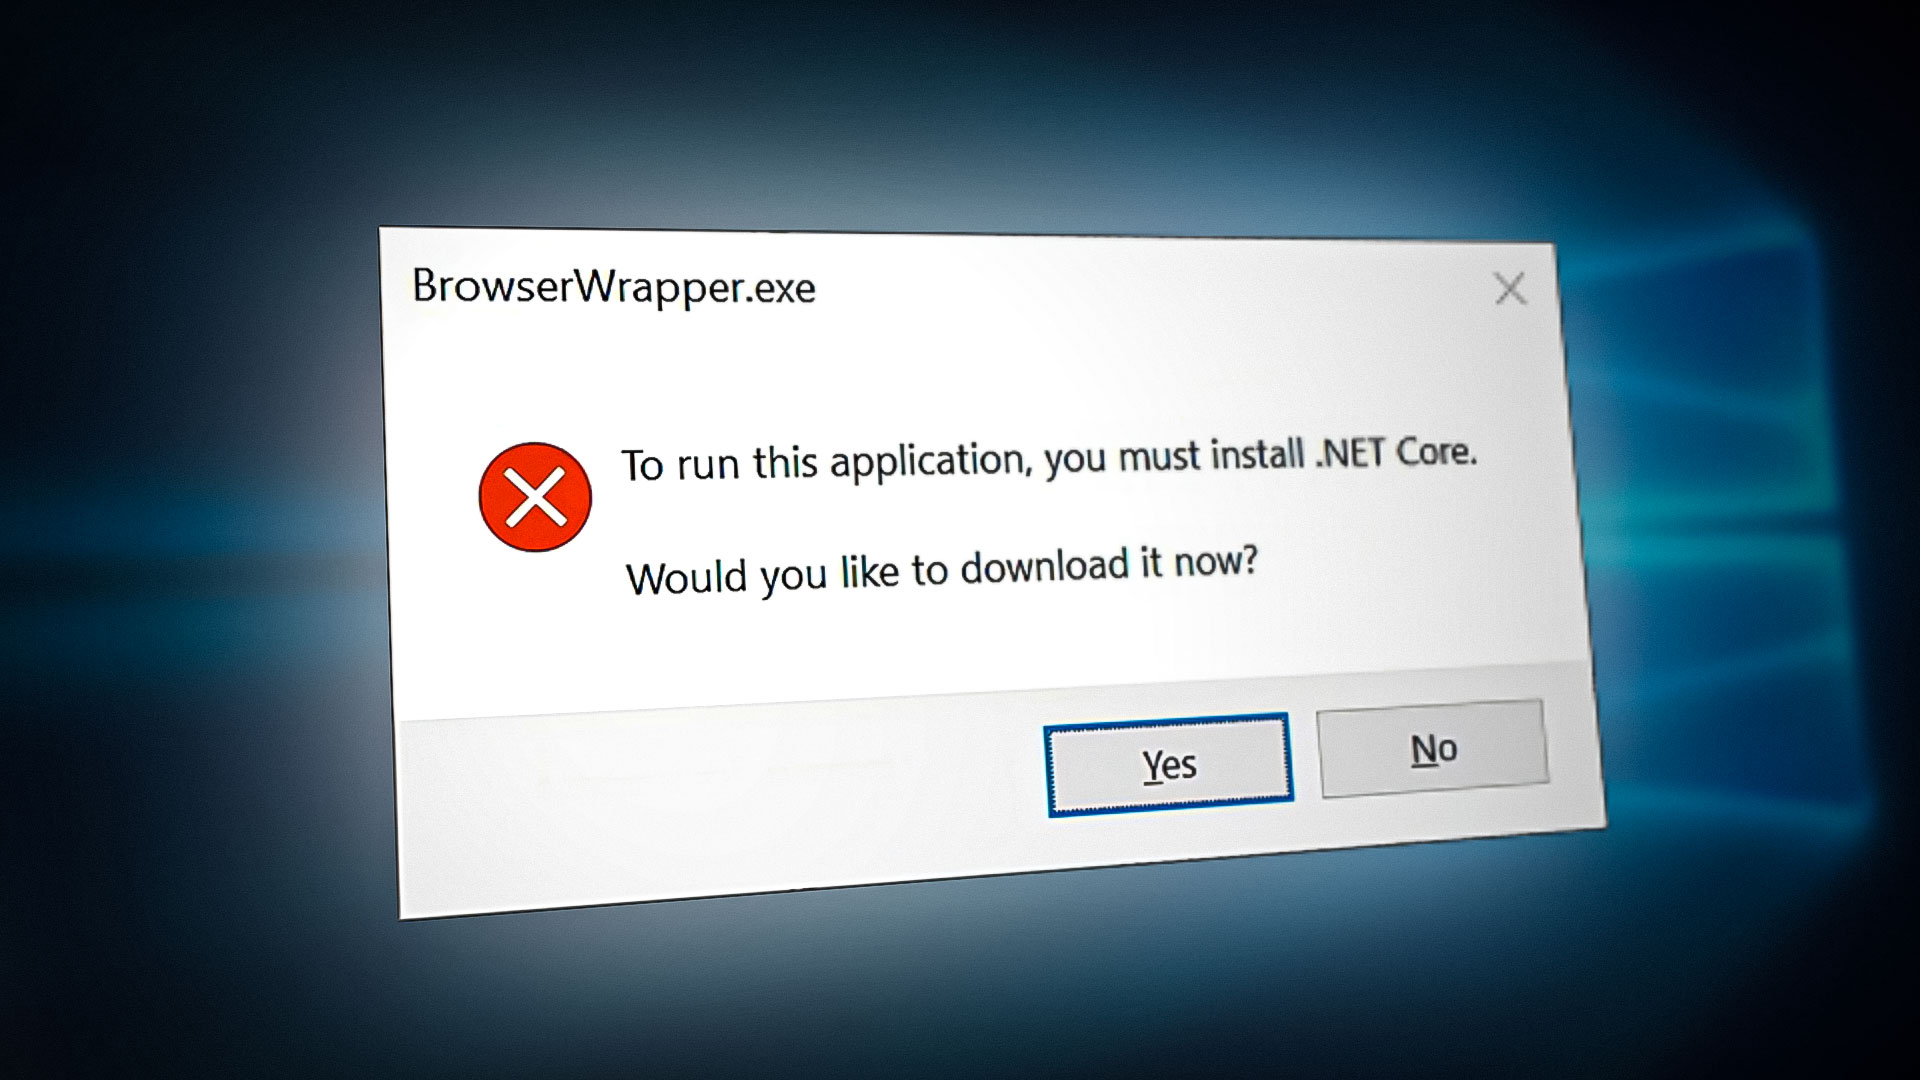
When running an application on Windows, you will often come across an error. This error prevents you from accessing the application and in turn, you receive the “To run this application, you must install .NET Core” message. This error occurs due to corruption in the system files. This prevents the application from properly communicating with the .NET Core.
In this guide, we will be showing you the methods to run the application facing the .NET Core error.
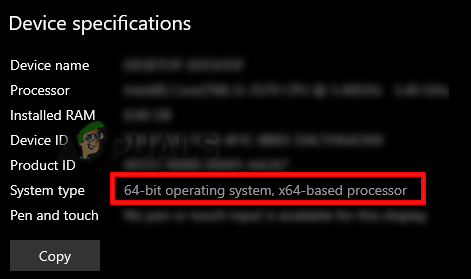
Prerequisites: Check your device specifications
The majority of the time, you will receive the .NET Core error when your system does not meet the required specifications to launch the targeted application. Therefore, you must check your system type prior to launching the application. Below are the instructions for viewing your device specifications:
Disclaimer: If your system does not meet the required System type, then it will face the .NET error when launching the application.
- Open the Windows settings by pressing the Win + I keys together.
- Navigate to System > About.
- Check your System Type under “Device Specification.” (64-bit Operating System here).

Checking system type
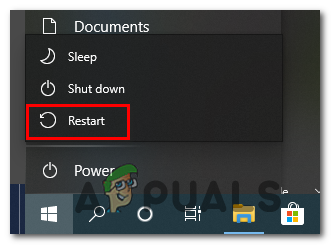
Workaround: Restart your computer
Before performing any other method that requires you to change your system settings, you must make sure that you have restarted your system. Performing a simple system restart will boot the system properly with all the applications in working a stable working condition.
- Open the Windows start menu by pressing the Win key.
- Click on the Power option and select “Restart” to restart your computer.

Restarting the computer - After the system has been restarted, launch the application.
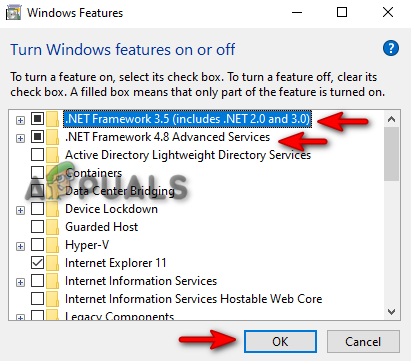
1. Enable the .NET Framework feature
Although both .NET Core and .NET Framework are different features that co-exist in Windows, it is still known that a disabled .NET Framework causes the .NET Core error to occur. Therefore, you must make sure that your Windows does not have the feature disabled. Below are the instructions for enabling the .NET Framework feature:
- Open the run command by pressing the Win + R keys together.
- Type “control panel” and click OK to open the Control Panel.

Opening the Control Panel - View the icons in a large font by clicking on the “View by” option and select “Large icons.”

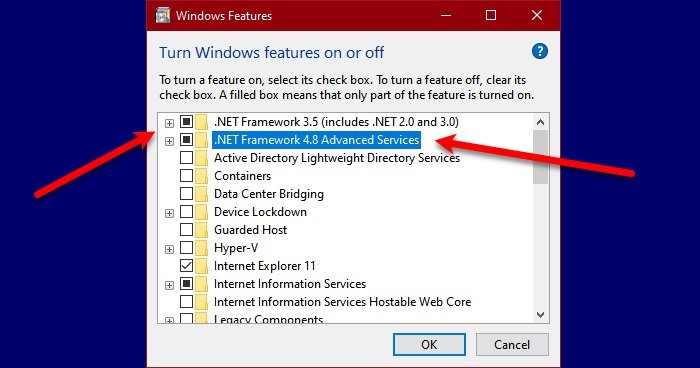
Viewing Large Icons - Now, navigate to Programs and features > Turn Windows features on and off.
- On the Windows features page, check both the “Framework” features.
- Confirm that action by clicking on the OK option.

Enabling the .NET Framework features

2. Run the System Scans
Corrupted system files can prevent the application from recognizing the .NET Core. Therefore, to ensure your system files are not corrupted, you must perform a system scans that repairs all the damaged files on the system through a simple scan. Run the system scans as follows:
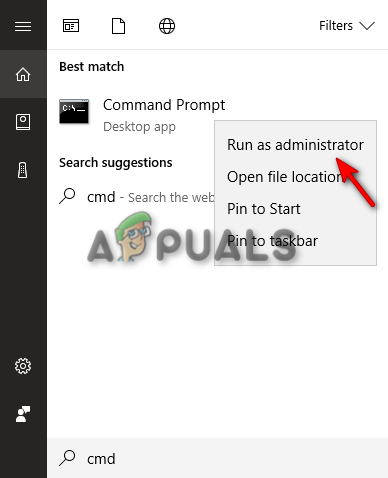
- Open the Windows Start Menu by pressing the Win key.
- Type “cmd” in the Windows Search bar.
- Right-click on the app and click on “Run as an administrator” to access the application with administrative control.

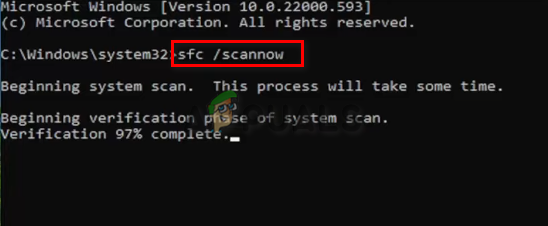
Running the Command Prompt as an administrator - Run the system file checker by typing the following command in the Command Prompt while giving a space between “sfc” and “/.”
sfc /scannow

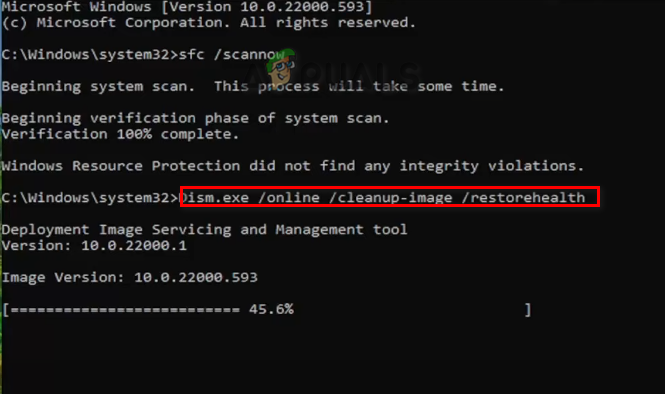
Running system file checker on the command prompt. - After the scanning is completed, the system file checker automatically repairs the damaged files.
Note: After the system file checker has scanned and repaired the files, you must also perform the DISM Command. Follow the steps below to run the DISM Command:
- Paste the following command into the command prompt and run the DISM Command.
Dism.exe /online /cleanup-image /restorehealth

Running DISM Command on the Command Prompt - Restart your system after the process is completed to make the necessary changes.
3. Perform a manual installation
If the .NET Core file is either missing from your system or has been corrupted. Performing a manual installation will fix the error. Below we have listed the steps to manually install the .NET Core.
- Go to the Official Microsoft .NET Website page.
- Download the latest version of .NET by clicking on the .NET SDK option. (As per your system type)

Downloading .NET SDK - Select the folder where you want to download the file.

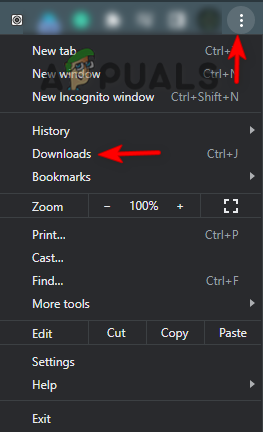
Saving the application in the folder - Click on the three dots on the browser and open the Downloads page.

Opening the Downloads tab - Open the file location by clicking “Show in folder”

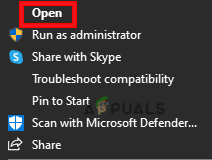
Opening the file in the folder - Right-click on the downloaded file and select the “Open” option.

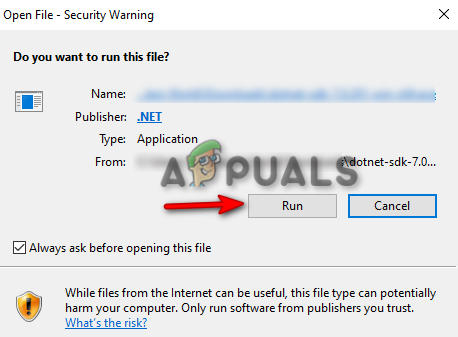
Opening the file - Run the file installation by clicking on the “Run” option.

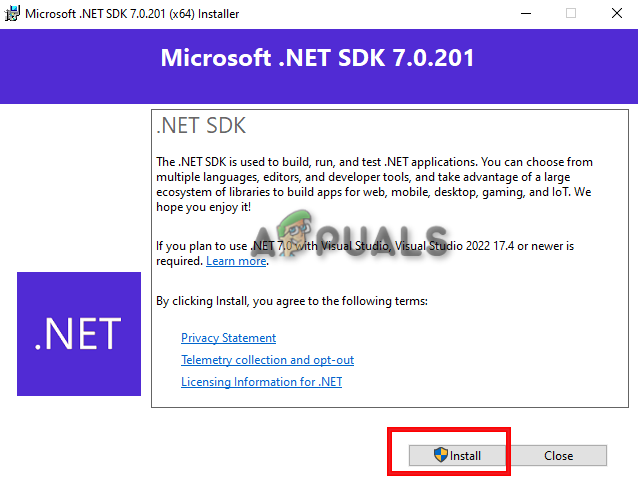
Running the setup - Install the .NET SDK by clicking on the “Install” option.

Installing .NET SDK Note: This will require administrative control. Therefore, select YES on the User Account Control prompt.
- After the Installation is completed, you can open the application without facing the error.


4. Perform a Clean Boot
As a last resort, you can perform a Clean Boot on your system. This is a feature that starts up your system with minimal windows services and the default programs needed to start the system. Simply start the system in a clean boot state. Once the system has started in clean boot, check if the application is still facing the error. If not, enable each process manually and find the one causing the error to occur, and uninstall it in normal mode.

Kevin Arrows
Kevin Arrows is a highly experienced and knowledgeable technology specialist with over a decade of industry experience. He holds a Microsoft Certified Technology Specialist (MCTS) certification and has a deep passion for staying up-to-date on the latest tech developments. Kevin has written extensively on a wide range of tech-related topics, showcasing his expertise and knowledge in areas such as software development, cybersecurity, and cloud computing. His contributions to the tech field have been widely recognized and respected by his peers, and he is highly regarded for his ability to explain complex technical concepts in a clear and concise manner.
When launching an installed app, we face an error – To run this application, you must install .NET Core – which stops us from launching that particular app. The app crashes at startup and asks us to install the .NET Core. The .NET Framework, as we know, is an open-source development platform that provides various frameworks for Windows, macOS, and Linux Operating Systems. In this error, the app that is crashing is failing to communicate with .NET Core, usually due to corrupted files. However, there it is not the only reason, there are various reasons that we are going to discuss hereinafter..

If you see To run this application you must install .NET Core when launching a program, follow these solutions to resolve the issue:
- Check if .NET Frameworks are enabled
- Install .NET Core from the prompt
- Launch the app in Clean Boot
- Repair/Reset the corrupted app
- Reinstall the app
You might have to execute multiple solutions or one solution could do the job for you, regardless of this fact, we should start executing from the first solution.
1] Check if .NET Frameworks are enabled
.NET Core and .NET Frameworks are two different things but are still related. If the frameworks are not working, it is very likely that you won’t be able to run the app that requires .NET Core. In that case, first of all, enable .NET Frameworks from Control Panel. Follow the steps to do the same on a Windows computer.
- Open Control Panel by searching it from the Start Menu.
- Change the View by to Large icons by clicking on the icon from the top-right corner.
- Click on Programs and Features.
- Then select Turn Windows features on or off.
- Tick the box next to .NET Frameworks (all versions) and click Apply > OK.
It will take some time to install the missing features; once done, reboot your computer and then launch the app. This will do the job for you. If the framework is already running on your computer i.e, the box associated with it is already ticked, skip this solution or restart the service by unticking and ticking the same.
2] Install .NET Core from the prompt
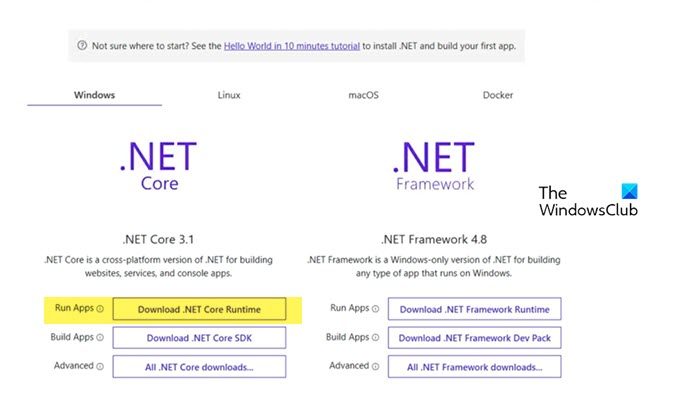
If you face the same issue even after restarting or starting .NET Framework, you should install .NET Core from the prompt. To do the same, double-click on the app that was giving you the error, and then click on Yes when the dialog box appears. It will redirect you to the official website of Microsoft, dotnet.microsoft.com. Go to .NET Core and then click on Download .NET Core Runtime placed next to Run Apps. Now, select the right architecture x64 or x84 (for 84 and 32).
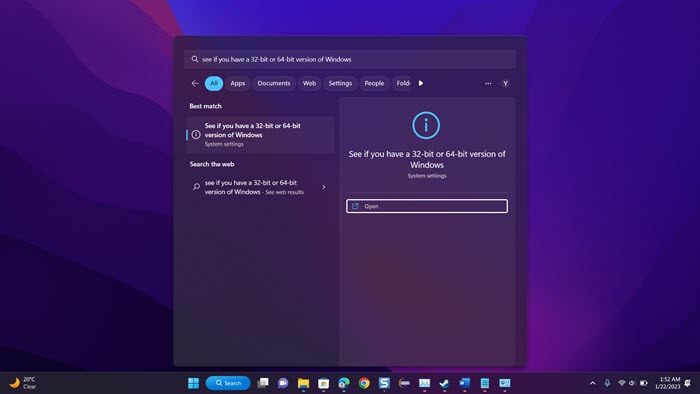
If we don’t know what’s the exact architecture of our OS, hit Win + S, type “See if you have a 32-bit or 64-bit version of Windows” and click Ok. There, in the System type section we will be able to know our correct architecture.
Now that we know which file to download, start the process and download the file. Once the file is downloaded, run it and follow the on-screen procedure to complete the installation process. Hopefully, that will do the job for us.
Read: How to check .NET Framework version installed on Windows
3] Launch the app in Clean Boot
A third-party app can interfere with the app that we are trying to and show a dialog box saying that .NET Framework is missing. In that case, we need to boot into Clean Boot but make sure to not disable services related to the program that was giving us the error. Once the system launches in Clean Boot, launch the app and check if we get the same error message. In case, the app launches without any issues, enable processes manually to find out which app is the culprit. Once we know the culprit, boot in normal mode and uninstall it. Hopefully, this will resolve the issue for us.
4] Repair/Reset the corrupted app

It is a known fact that when we install an app, some space is allocated to it, and it keeps growing as files related to that particular app get stored there. When those files get corrupted, we will encounter various errors. If the .NET Core error appears when launching a Windows app, you can easily repair it from Settings, other than that, some apps provide an option to repair their files. In case, the app you are unable to launch doesn’t have this option, go to the next solution.
- Open Settings.
- Go to Apps > Installed apps or Apps & Features.
- Look for the corrupted app.
- Windows 11: Click on the three vertical dots and select Advanced Options or Modify.
- Windows 10: Click on the app and then click on Advanced Options or Modify.
- If you are in Advanced Options, just click on the Repair/Reset button. If you are in the program’s utility by clicking on Modify, follow the on-screen instructions to repair the app.
Hopefully, this will do the trick for you.
Read: Microsoft .NET Framework Repair Tool will fix problems & issues.
5] Reinstall the app
If nothing worked your last option is reinstalling the app. So, go ahead and uninstall it completely. After removing the app, delete related files, reboot the computer, download a fresh copy of the software and install it. To uninstall the app, follow the prescribed steps.
- Open Settings by Win + I.
- Navigate to Apps > Installed apps or Apps & Features.
- Search for the app that was throwing the error code.
- Windows 11: Click on the three vertical dots and select Uninstall.
- Windows 10: Click on the app and then click on Uninstall.
- Click on Uninstall when prompted.
This will do the trick for you.
How to install .NET core?
It is possible to install .NET Core by running the installation package of Visual Studio 2017/2019, as they contain the package related to the program. However, if you don’t want to install Visual Studio, or you just don’t need, or you are using a different version, just install .NET Core SDK or Runtime, and you will be good to go.
Написал консольные приложение на C#, скомпилил его (в VS это называется «Опубликовать»), но при запуске на других компах вылазит ошибка «To run this application, you must install .NET Core». В настройках сборки я изменил тип открытия на «Автономный», класс, ошибка исчезла, но теперь мой exe весит не 1.5 МБ, а 60 МБ.
Какие есть способы обойти установку .NET Core? При этом получить екзешник с адекватным весом?
-
Вопрос задан
-
4151 просмотр
Разрабатывать приложение с более старой версией .net
Например 3яя есть даже на win7 по умолчанию, а в 10-ке — 4.6 версия, вот список ревизий ос и версий встроенных в них .net
p.s. машины, на которых почему то не установлен последний .net это что то странное, сейчас некоторые даже инсталяторы пишут на .net, т.е. на такой машине без .net тупо ничего не запустится
Машины должен кто то администрировать, пусть он и настраивает как надо
а если там linux будет стоять, будете прикладывать к своему exe-шнику инсталятор windows?
Пригласить эксперта
Есть несколько вариантов:
1. Использовать .net 6 — он умеет тащить за собой не весь рантайм, а только то что нужно для работы.
По крайней мере Hello World в 12мб получалось уместить (single file + self contained + assembly trimming)
2. Поставлять программу вместе со скриптом, который проверит, установлен ли .net runtime и установит его сам, скачав из интернета
3. Забить и оставить как есть (засунуть в архив)
4. Использовать .NET Framework, который идёт на винде из коробки, но имхо — это шаг назад по всем параметрам, и так делать не стоит.
UPD: Hello world таки весит 12 мегабайт
-
Показать ещё
Загружается…
22 сент. 2023, в 16:31
10000 руб./за проект
22 сент. 2023, в 16:02
2000 руб./за проект
22 сент. 2023, в 15:50
800 руб./в час
Минуточку внимания

I kept getting the following issue even after successfully installing dotnet version 7, I do see the version using dotnet —version command:
_dotnet ./OpenBullet2.dll
You must install or update .NET to run this application.
App: /home/flutterdev/Documents/dev/OpenBullet/OpenBullet2.dll
Architecture: x64
Framework: ‘Microsoft.NETCore.App’, version ‘6.0.0’ (x64)
.NET location: /usr/share/dotnet/
The following frameworks were found:
7.0.5 at [/usr/share/dotnet/shared/Microsoft.NETCore.App]
Learn about framework resolution:
https://aka.ms/dotnet/app-launch-failed
To install missing framework, download:
https://aka.ms/dotnet-core-applaunch?framework=Microsoft.NETCore.App&framework_version=6.0.0&arch=x64&rid=parrot.5.3-x64_