Overview[edit]
Joomla logging gives you the ability to log messages to files and to the screen (within the Joomla! Debug Console at the bottom of the web page) and the main Joomla class which underpins this is JLog. In the new naming convention this is the Log class within the namespace Joomla\CMS\Log\Log.
The logging can be controlled dynamically through the Joomla Global Configuration and by configuring the System – Debug plugin (which is shipped with Joomla). Overall these facilities allow you to:
- switch DEBUG logging on or off – so that ordinarily you don’t consume resources needlessly, but you have the logging information to assist troubleshooting when there are issues, for example on a live site which has your extension installed.
- route log messages to a specific log file for your own extension.
- view log messages in the Debug Console – you can select the group of users to which log messages should be displayed, so that on a live site developers can see the messages while other users are unaffected.
- filter Debug Console messages by priority (i.e. INFO, DEBUG, WARNING and so on) and by category. (You are free to define your own categories.)
In addition, the log messages can be translatable into different languages.
The main configuration options relating to logging are shown below.
Switching on debug and display of the Joomla Debug Console is controlled through the global configuration options.

Logging to the general log file is controlled via the Logging tab of the configuration of the Joomla System — Debug plugin. (In the administrator menu, click on Extensions / Plugins, find the System — Debug plugin. Click on it to edit its configurable options).

And the options within the Plugin tab control display on the Joomla Debug Console.

Basic File Logging[edit]
To log a message you use the JLog::add() function. For example:
JLog::add('my error message', JLog::ERROR, 'my-error-category');
Using the new class naming convention use instead:
use Joomla\CMS\Log\Log;
Log::add('my error message', Log::ERROR, 'my-error-category');
The parameters are
- A message string. You can use translation with these. (For example, JText::_(‘MY_EXTENSION_ERR_MSG’) You can also display the values of variables, provided you convert them into a string format. (For example, using __toString() if the type of the variable supports that.)
- A priority, which can be one of JLog::EMERGENCY, JLog::ALERT, JLog::CRITICAL, JLog::ERROR, JLog::WARNING, JLog::NOTICE, JLog::INFO, JLog::DEBUG (based on the standard syslog / RFC 5424 severity levels – see wikipedia article on syslog).
- A category, which is just a text string. You can define whatever categories you like, but it is best to define them to avoid possible clashes with those of other extensions.
It can be very helpful with troubleshooting problems if you include diagnostic debug messages in your extension. In this case, enclose your log message within a check for JDEBUG:
if (JDEBUG)
{
    JLog::add('my debug message', JLog::DEBUG, 'my-debug-category');
}
Basic Logging Sample Code[edit]
Below is the code for a simple Joomla module which you can install and run to demonstrate use of the logging functionality. If you are unsure about development and installing a Joomla module then following the tutorial at Creating a simple module will help.
In a folder mod_sample_log create the following 2 files:
mod_sample_log.xml
<?xml version="1.0" encoding="utf-8"?>
<extension type="module" version="3.1" client="site" method="upgrade">
    <name>Joomla Log demo</name>
    <version>1.0.1</version>
    <description>Code demonstrating use of Joomla Log class to log messages</description>
    <files>
        <filename module="mod_sample_log">mod_sample_log.php</filename>
    </files>
</extension>
mod_sample_log.php
<?php
defined('_JEXEC') or die('Restricted Access');

use Joomla\CMS\Log\Log;

Log::add('my error message', Log::ERROR, 'my-error-category');

JLog::add('my old error message', JLog::WARNING, 'my-old-error-category');

echo "Error message logged";
Zip up the mod_sample_log directory to create mod_sample_log.zip.
Within your Joomla administrator go to Install Extensions and via the Upload Package File tab select this zip file to install this sample log module.
Make this module visible by editing it (click on it within the Modules page) then:
- making its status Published
- selecting a position on the page for it to be shown
- on the menu assignment tab specify the pages it should appear on
Check the configuration of the settings shown at the top of this web page. In particular, ensure that the System – Debug plugin is enabled and that Log Almost Everything is set to Yes. Also note where the folder where your log files are stored.
Display your Joomla site and you should then see the sample log module appearing. In your log file folder you should find your error messages in the everything.php file.
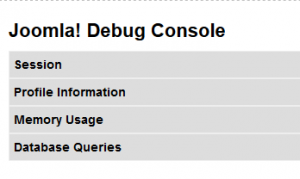
Also switch on the debug console and confirm that you can see the error messages in its Log Messages section.
Logging to a Specific Log File[edit]
You can use JLog::addLogger() to set up logging to an additional log file, filtering the log messages to be sent there by priority (the ‘severity level’) and/or category. The parameters of JLog::addLogger() are:
- an array with configuration details – including the name of the log file.
- the severity levels to be logged in that file.
- an array of the categories to be logged in that file. (If parameter 4 is set to true, this array defines the categories which are NOT to be logged in the file.)
- (often omitted) a boolean specifying whether parameter 3 is an include list. (The default, P4 = false) or an exclude list (P4 = true.)
For example, if you have developed a com_helloworld extension you could use the following:
JLog::addLogger(
    array(
         // Sets file name
         'text_file' => 'com_helloworld.log.php'
    ),
    // Sets messages of all log levels to be sent to the file.
    JLog::ALL,
    // The log category/categories which should be recorded in this file.
    // In this case, it's just the one category from our extension.
    // We still need to put it inside an array.
    array('com_helloworld')
);
Then when you log a message, specify the category as com_helloworld, as in the example below
JLog::add(JText::_('COM_HELLOWORLD_ERROR_MESSAGE_123'), JLog::ERROR, 'com_helloworld');
This will result in your log message being written to com_helloworld.log.php. If the System – Debug plugin settings have «Log Almost Everything» set to Yes, the message will appear in the common everything.php log file as well.
Note: You may wish to combine this with the Display error messages and notices section to display visible error notifications to users.
You can also add an additional logger to capture only critical and emergency log notifications:
JLog::addLogger(
    array(
         // Sets file name.
         'text_file' => 'com_helloworld.critical_emergency.php'
    ),
    // Sets critical and emergency log level messages to be sent to the file.
    JLog::CRITICAL + JLog::EMERGENCY,
    // The log category which should be recorded in this file.
    array('com_helloworld')
);
You can also exclude a specific priority level from being included. For example, to log all but DEBUG messages:
JLog::addLogger(
    array(
         // Sets file name.
         'text_file' => 'com_helloworld.all_but_debug.php'
    ),
    // Sets all but DEBUG log level messages to be sent to the file.
    JLog::ALL & ~JLog::DEBUG,
    // The log category which should be recorded in this file.
    array('com_helloworld')
);
The JLog priority levels are implemented as separate bits of an integer, so you can use bitwise operations (bitwise AND, &; and bitwise NOT, ~) to calculate the appropriate log levels. JLog::All is a constant integer which has all the relevant bits set, so that all the Joomla priority levels are included.
Formatting the Log File[edit]
The first parameter to addLogger can have a few optional additional settings in addition to the text_file entry.
There is, for example, the entry text_entry_format, specifying the format of each line in your log file.
The default format is:
'{DATETIME} {PRIORITY} {CATEGORY} {MESSAGE}'
Here is an example of a different format which shows how to omit the category:
JLog::addLogger(
    array(
         // Sets file name.
         'text_file' => 'com_helloworld.critical_emergency.php',
         // Sets the format of each line.
         'text_entry_format' => '{DATETIME} {PRIORITY} {MESSAGE}'
    ),
    // Sets all but DEBUG log level messages to be sent to the file.
    JLog::ALL & ~JLog::DEBUG,
    // The log category which should be recorded in this file.
    array('com_helloworld')
);
In addition to the placeholders shown above in the default string, the following values are available:
   {CLIENTIP}      (this is the IP address of the client)
   {TIME}
   {DATE}
There is an additional optional boolean parameter text_file_no_php, which specifies whether the log file is prepended with the usual prefix of:
   #
   #<?php die('Forbidden.');?>
Note: Usually you should not set this setting to false. Log files should not be readable from the outside. They can provide valuable information about your system for attackers.
Only dabble with this if you know what you’re doing!
Furthermore, if you want to store the log file somewhere other than the logging path configured in the Joomla! settings, there is the text_file_path setting.
Logging to Other Places[edit]
As well as logging to files, you can log to other places as well, such as
- the Joomla message area (where the message is shown if you call
JFactory::getApplication()->enqueueMessage()). - a database table.
- just a simple echo statement.
Of these, probably the most useful is the logging to the message bar, which you can set up via:
JLog::addLogger(array('logger' => 'messagequeue'), JLog::ALL, array('msg-error-cat'));
Then when you do:
JLog::add('an error to display', JLog::ERROR, 'msg-error-cat');
you will get the message copied to the message bar.
Note that Joomla core code sets up logging to the messagequeue for category ‘jerror’, so that if you use this category in your log messages, you will get the message displayed on the message bar. For example:
JLog::add('error copied to message bar', JLog::Error, 'jerror');
will result in the message being shown in the Joomla message area, even though you haven’t explicitly set up a logger to log there.
PSR-3 Logger[edit]
Since version 3.8 Joomla incorporates a logger which adheres to the PSR-3 Logger Interface. This enables libraries which follow this standard recommendation to integrate with the Joomla logging system. To use this, first do:
use Joomla\CMS\Log\Log;
$psr3Logger = Log::createDelegatedLogger();
This returns an object on which you have available the methods of the PSR-3 LoggerInterface, for example:
$psr3Logger->critical("critical error text", array("category" => "my-critical-category"));
The default Joomla loggers process only the «category» and «date» elements of the context associative array (parameter 2), mapping the values of these elements to the corresponding column in your log file.
Exceptions[edit]
JLog::add() will throw an exception if it can’t write to the log file. To avoid this, you’d have to either wrap the call in another function, or implement your own logger class and then include it with:
JLog::addLogger(
    array(
         // Use mycustomlogger.
         'logger' => 'mycustomlogger',
         'text_file' => 'com_helloworld.errors.php'
    ),
    JLog::ALL,
    array('com_helloworld')
);
Further Reading[edit]
Joomla logging should be used in tandem with PHP exceptions, not as a replacement. See J2.5:Exceptions_and_Logging_in_Joomla_Platform_11.1_and_Joomla_2.5 for backstory on this class and how it arose from the old Joomla PHP4 compatible error classes.
0 Пользователей и 1 Гость просматривают эту тему.
- 3 Ответов
- 3450 Просмотров


И снова здравствуйте!  )
)
Застрял с псевдо-проблемой. В разрабатываемый модуль добавил логирование некоторых некритичных ситуаций, возникающих в процессе его работы. Логирование реализовал посредством:
JLog::add("сообщение", 1, 'module_name', date ('d-m-Y h:i:s'));Всё работает без ошибок, но вот куда сохраняются эти сообщения не нахожу. Посмотрел error_log апача, там нет. В директории Джумлы тоже ничего не нашел. Подскажите, пожалуйста, куда сохраняются созданные записи?
Joomla хранит логи в разных местах: в файле, в БД, в системном журнале…В вашем случае, скорее всего, логи сохраняются в /logs/error.php или /administrator/logs/error.php.
Записан
Не будь паразитом, сделай что-нибудь самостоятельно!
robert, спасибо за ответ. В /administrator/logs/error.php нет логируемых ошибок, а папки /logs в моей Joomla нет вовсе. В БД тоже ничего похожего не нашел.
/administrator/index.php?option=com_config — Система — Путь к каталогу логов
Записан
Тут дарят бакс просто за регистрацию! Успей получить!
Все советы на форуме раздаю бесплатно, то есть даром. Индивидуально бесплатно консультирую только по вопросам стоимости индивидуальных консультаций
 By default, Joomla is set to use the servers definition of how it should log errors.
Despite this, it is often more helpful to enable debugging/error logging within the Joomla application itself, which will allow a more thorough insight into reasons why your site may not be functioning properly.
The default plugin for Joomla that controls debugging provides important information that can assist in sorting out errors and improving the performance of your website. This part of the guide will show you how to enable the debugging console.
Method 1
1. Log in to the backend of your Joomla site.
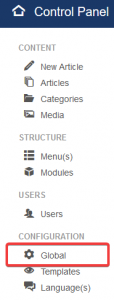
2. Go to Global Configuration on the far left of the control panel.
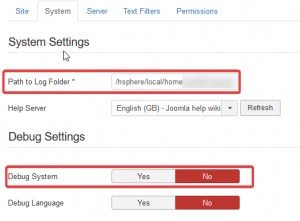
3. Select the System tab at the top of the page and then click Yes on the Debug System to enable it. You can also see the directory where your logs will be stored under the Path to Log Folder field.
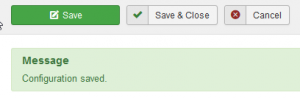
4. Click Save on the top left in order to save the new configuration.
5. The Debug Console should now appear at the bottom of any of the pages you decide to visit on your website.
Method 2
1. Log in via FTP to gain access to the files within your Joomla installation.
2. Locate the configuration.php file within your Joomla domain’s directory
3. Edit the line around line 12
public $debug = '0'
4. Change the ‘0’ to a ‘1’ to enable debugging.
5. This should have enabled the Debugging Console, with it appearing as shown in Method 1.
Joomla Error Logging
Method 1
This method is particularly useful if you’re receiving a white screen and can’t get to the backend of your site.
1. Log in via FTP to gain access to the files within your Joomla installation.
2. Locate the configuration.php file within your Joomla domain’s directory.
3. Edit the line around line 23
public $error_reporting = 'default';
4. Replace ‘default’ with any of the following:
Default: Joomla will inherit error reporting defaults set in the server (usually in php.ini file).
None: Switch off the Error Reporting
Simple:Gives a basic report with warnings only about the fatal errors.
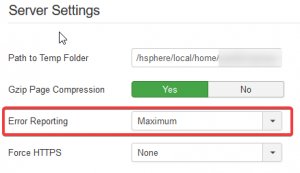
Maximum: Gives a full report with all the errors, warnings, notices, deprecated functions call, strict standards etc.
You’ll usually want to use Maximum if you’re receiving a white screen on the front or back end of your site.
Method 2
If you can get to the backend of your site, you can simply enable error logging this way.
1. Go to the Global Configuration control panel.
2. Click the Server tab.
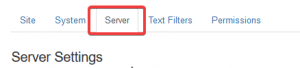
3. On the drop down menu next to Error Reporting, select the level of error reporting you wish to use.
4. Click Save at the top left once you’ve selected the level of error reporting you wish to use.
5. You should now be able to see errors when trying to troubleshoot your site.

Classification: Public
Last saved: 2019/08/16 at 14:00 by Jamie
Errorlog is a system plugin that pulls out the last 200 lines of errors from the PHP error log file(error_log). The error log scans two paths, Joomla root and /administrator, for errors frequently used for debugging or tracing the website errors. With the Errorlog plugin, you can view report errors to the technical team faster and get your Joomla site error in a shorter time.
Installing and configuring Errorlog plugin for Joomla
- Log in to your Joomla site with an administrator account.
- On the top menu bar, click Extensions, click Manage, and then click Install.
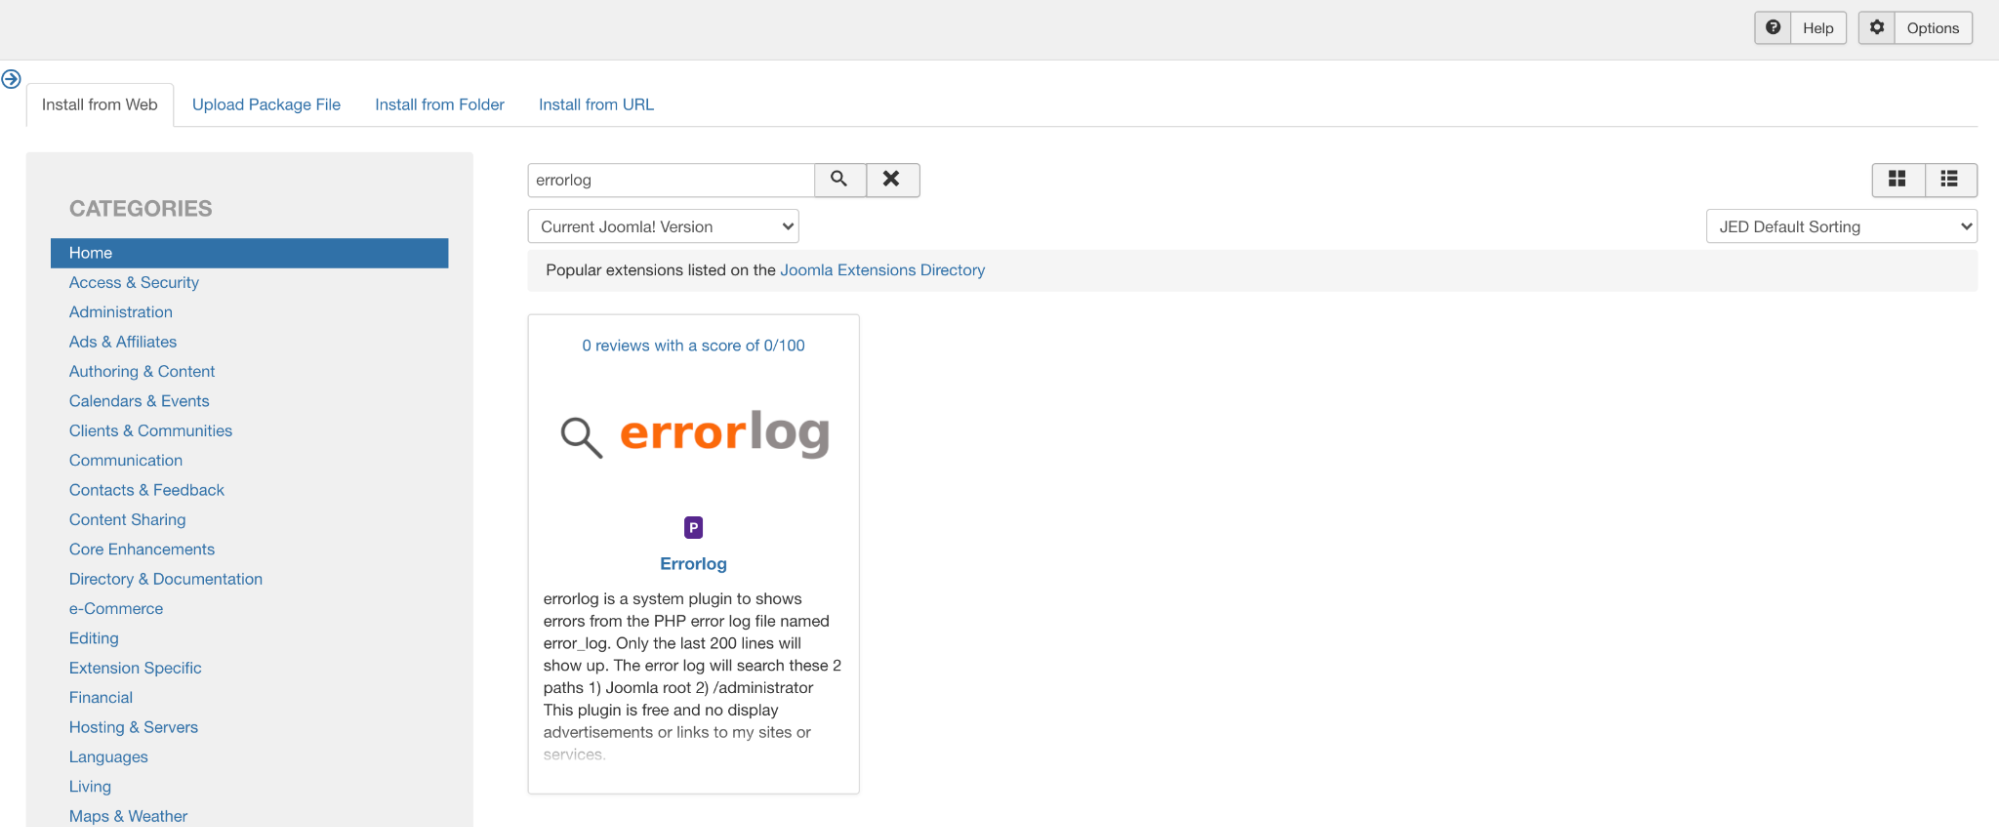
- Select Install from Web tab, search for “Errorlog:
-
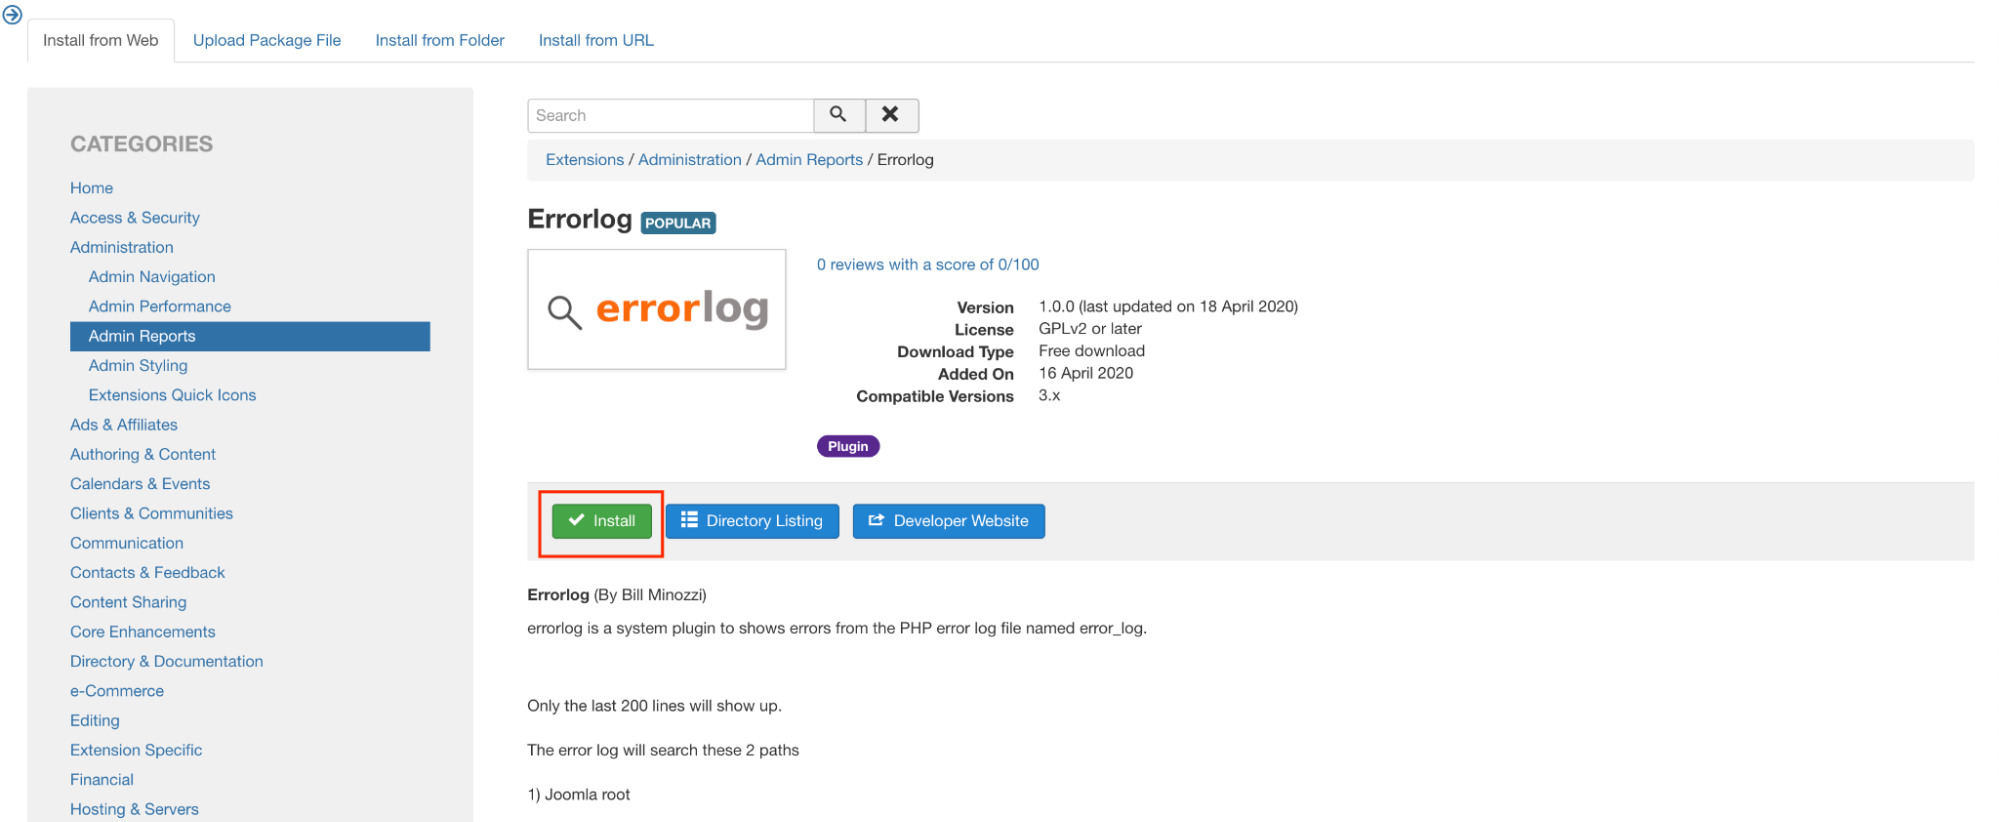
Click on Install to install the module:
-
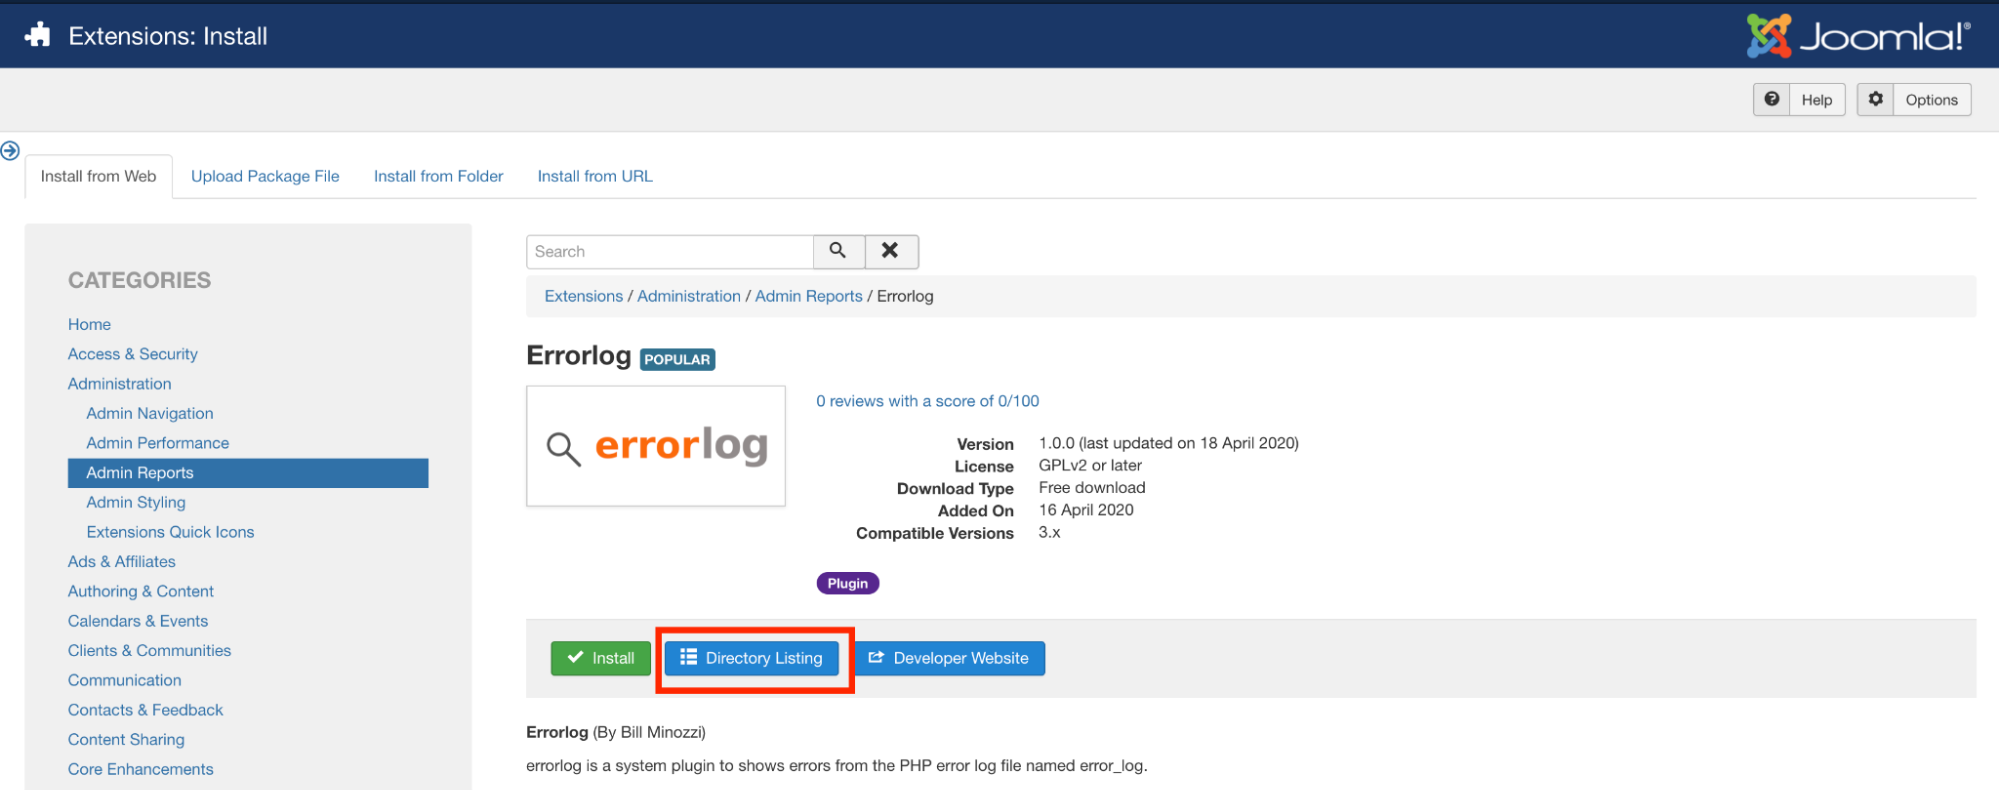
If the Install option on the module does not work, click Directory Listing. This will take you to the module page. Download the extension to your computer. Then click the Upload Package File tab. Upload the extension file from your drive. This will upload and install the module:
-
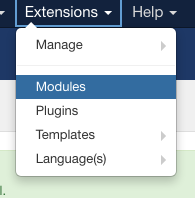
On the top menu bar, click Extensions, and then click Modules:
-
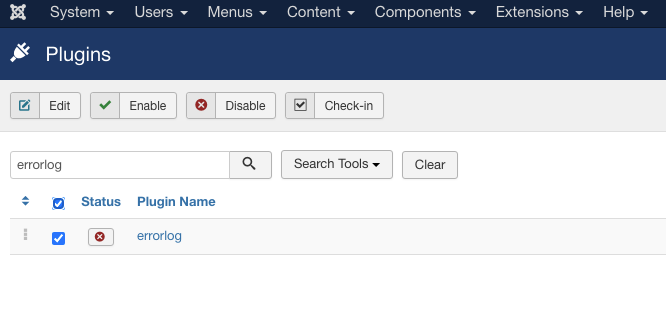
Select the “errorlog “ to edit the module:
-
Change the status to “ Enabled”. When an error is generated, it will be displayed in the logs tab:

More Information
For more information about the Errorlog Plugin, please visit https://extensions.joomla.org/extension/errorlog/
In our last article, we have discussed how to enable content versioning in Joomla. And today we are going to learn how to enable Debug and error reporting in Joomla 4.
Debug in Joomla 4 is very powerful and important when it comes to figuring out what’s going on with blank pages and or other errors within your Joomla site.
Here is our default Joomla screen.

I am going to create an error in one of the Joomla files and we will use the debug and error reporting to navigate and fix through the error.
To create an error. I am going to open up the index.php file and write anything down that’s isn’t valid PHP code.

After saving the file, if I try visiting the frontend of the website, we should see the blank page:

Let’s go ahead and enable error reporting real quick and we should start seeing our errors here:
To enable error reporting: Navigate to System >> Global Configuration.

Inside the Global Configuration screen, click the Server tab. And then change error reporting to Maximum (your current value might be System Default or none).

Once done, hit Save.
Now go back and refresh the frontend and you should see an error similar to the one below.

This is very useful for PHP fatal errors where Joomla isn’t able to run at all and you have to fix beforehand in order to even see the Joomla screen working.
Sometimes, you may start experiencing blank or broken pages after installing an extension or upgrading/downgrading PHP version on your server or some similar change, to debug errors like those the Joomla debug would be very very useful.
To create an error like that, I am going to modify the file templates/cassiopeia/index.php.
I am going the following one from
use Joomla\CMS\Factory;
To
use Joomla\CMS\Factory1;
This is just a very small change that calls for a Library that doesn’t exist (just like your outdated extension might be calling for depreciated or removed Joomla code).
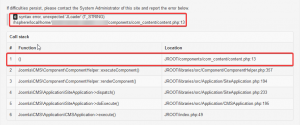
Now, immediately after making this change, If I go ahead and refresh the homepage of my website, I can see the following error screen:

You can see Joomla notifying an error but not much info about where the error is appearing from, this can be very frustrating when working with extensions, where they have hundreds of files but we don’t see an exact location of the file that is causing the error.
The debug in Joomla is very useful at this point.
Go ahead and enable the debug using the System >> Global Configuration >> System tab.

Hit Save refresh the frontend.
You will see a whole trace log of the file that is causing the error and how Joomla got to that file.

You can now go to the exact file and add your fix. That’s it, debug and error reporting can be very useful when it comes to debugging blank pages or other Joomla errors.